Step by Step guide to set up and program Hikvision DVR/NVR.
Any surveillance sites after the completion of wiring and installation of the CCTV camera. The last work was to program the DVR/NVR for live view, playback, and mobile surveillance. here are some simple steps to follow to Set up/program Hikvision DVR/NVR for the first time.
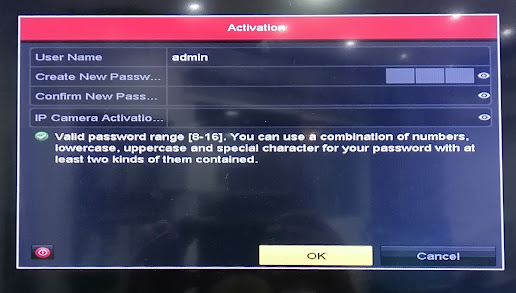
1. Put the password two times, username -admin is the default. The valid password range should be (8-16) with the combination of a letter number and a special symbol.
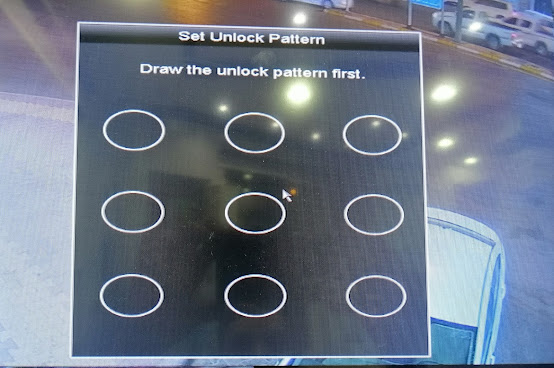
2. Draw the pattern if you want a quick login in the DVR/NVR. It is not mandatory.
3. Select language, the default language is English, if you change the DVR/NVR language right here, the Device will restart for language change.

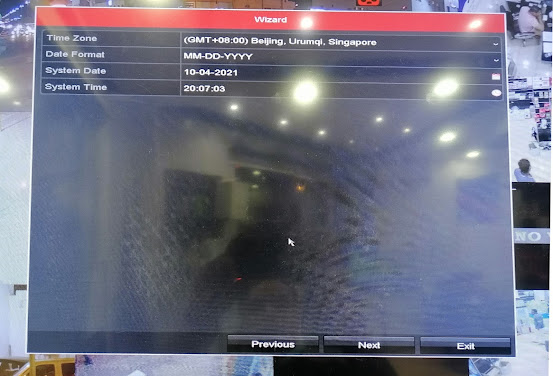
4. Select the time zone/region, Date format, System Date, and Time. and click Next.
Making DVR online
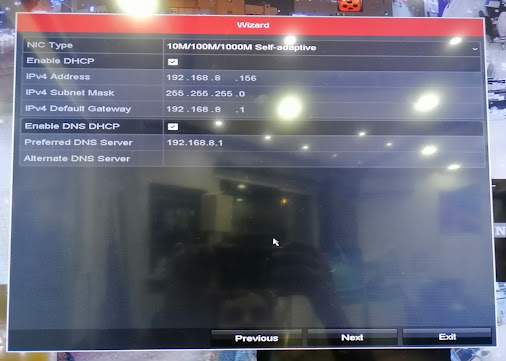
5. First time you should check Enable DHCP for quick online DVR/NVR.
6. Now you have to put the Verification code of the DVR/NVR. This step is very necessary to make the receiver online. The verification code same as another password to increase the level of security.
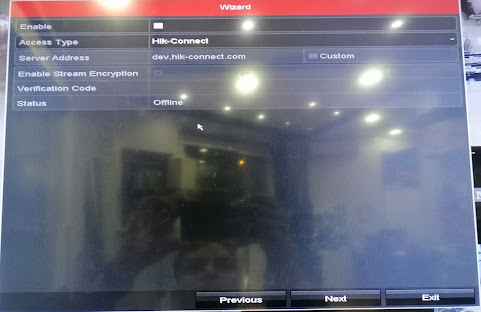
Select the check box for Enable, and put the verification code with the combination of letter and number. And finally, select Next.
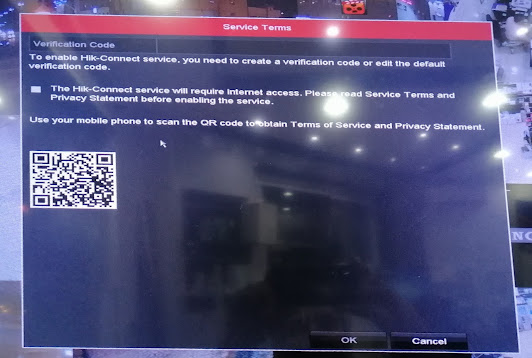
7. Here select the check box to authorize hik-connect service that requires internet access.
after that click ok.
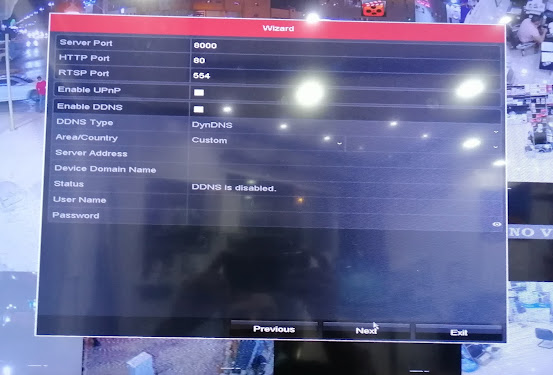
8. In the Wizard box leave all the defaults given by your DVR/NVR.
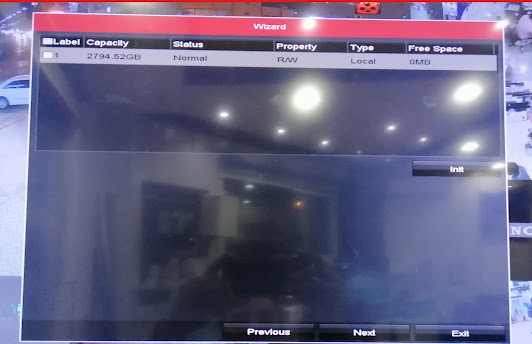
Select the hard disk on the very left side of the check box click on Init and select Next.
And there you go, your DVR/NVR is configured for 24/7 surveillance.
Post a Comment