How to install Hard Disk Drive (HDD) in the CCTV Recorders.
Surveillance video recorders like DVR and NVR come without pre-installed hard disk drives, allowing users to customize their storage based on individual needs. To store camera footage, users need to install a hard disk drive into Digital/Network video recorders. The flexibility of choosing your storage capacity lets you decide the duration, whether in days or months, for retaining video recordings.
For the CCTV storage calculator visit this link.

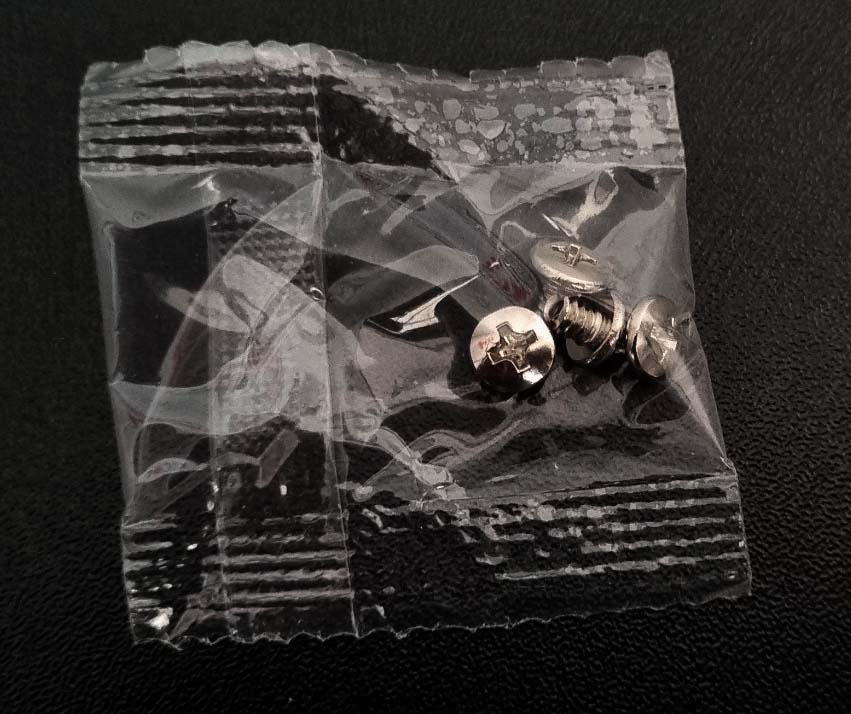
In this article, we use a Hikvision digital video recorder for the installation of a Hard Disk Drive but the below steps to install a hard disk are generally the same on any DVR or NVR. This is a very simple task just you need to have a screwdriver to open the DVR and put it inside. Every manufacturer has provided two cables and 4 screws with packages of DVR for hard disk installation, One is SATA Cable and Power Cable.
 |
 |
First, you have to open the case cover with the help of a screwdriver. Generally, every recorder has 4 screws. After removing the screws you can see there is much space in the recorder and that is to have for HDD installation.
 |
 |
Remove the packaging of the Hard Disk drive and be ready to put it inside the recorder. A hard Disk drive has two ports one is the power port where the hard disk drive takes power and one is the SATA or data port.
Put the SATA cable and Power cable on the Hard Disk drive very carefully because both of the ports and cables are designed to be inserted just one way so you can not confuse the cables.
 |
 |
After Cabling is done, you must mount the hard disk drive in the recorder. There are dedicated 4 points already provided by all manufacturers for HDD mounting, Put the HDD on 4 points and flip the recorder upside down with holding both the hard disk and recorder at the same time and finally with the help of a screwdriver tight all screw for fix the HDD so it does not move.

Post a Comment